Showing posts with label art stamps. Show all posts

Thursday, August 26, 2010

More Stamps and Being You in your Art

I did yesterday's post rather late last night and so I thought I'd do a show and tell today and show you a photo of some more of the stamps I've carved recently.

I've been using them on fabric and then stitching the fabric patchwork style to one of my wire frames. I like how it's turning out but you know that little bit of a voice that says it's not that good? I've been fighting that lately. Really I know it doesn't matter if it's good or not, what matters is that you do what you're called to do. That you take the time and the risk to create in the face of that inner critic.

Really in life it boils down to being you, being authentic, whether others will get it, or like it, or not. How do you deal with those thoughts, the negativity? I'd really like to know. :)

So that's where I'm at right now... and here are some stamps.... I used the "faith" on one of the petals in the close up shot above. Fun!

Tuesday, August 17, 2010

Printmaking 101- Carving and Printing Your Stamps

To create text with a stamp carve the mirror image
Ready for more monsters? Yesterday I introduced you to the tools and materials you'll need to carve your very own stamps. Today we'll go over the basics for how to design, carve, and print proofs of your stamps.

First, create your design. I did this activity with my 5 year old so he did the design and I did the carving. The easiest way to cut the design you want is by directly drawing it on your stamp surface. Remember however that stamps do print as a reverse image. This is especially important to know when you're carving text. An easy way to see what your text should look like when carved is to write your word or phrase on a piece of paper and then hold it up to a mirror to see the text as you'll need to carve it. There are other tricks for this too but this one is pretty simple.

Next, we'll begin to carve out the stamp. What you're going to want to do is carve everything around your image. To begin, use a small v-tip and outline your shape. The rubber does want to tear so if you're doing an area that is highly detailed you're going to want to cut around your shape with an X-acto first. This will stop the rubber from tearing into your image. SUPER IMPORTANT!!!- Always Cut AWAY from yourself and never hold the stamp in a place while cutting where you might slip with the carver and hurt yourself. We are working with sharp blades which is why I don't allow younger children to handle the carving tools. After you do the detail carving around your image then go back with a gouging blade (they're shaped like u's) and carve out the rest of the area around your image. There is an element of design to keep in mind while you're carving- the carve lines. Everything you don't cut out will print- SO if you like the look of the block print you don't want to cut everything away, but leave a line here or there to print. I like the look of borders around my stamps so I'll usually leave the rubber around the very edge of my stamp untouched.


Proofing your stamps- We are working subtractively so you can't add more print area once you've carved that rubber away. So err on the side of too little and then do this proofing process until the stamp is perfect. Once you've completed your initial carving you'll find you have a little rubber crumbles left in the lines of your stamps. These could muck up your ink or your image so you need to get rid of them. I've tried brushing them out, knocking them out, but the best way to clean your stamp off is to run it under your faucet and gently rub your lines clean. Dry your stamp off with a towel and then ink it up and print it on a scratch piece of paper or fabric. If you do this and find there's an area that's not as detailed as you'd like or there's a line you don't want then go back to your carving area and fix it. Continue doing this until it stamps the image you want. When done, clean off your stamp before storing it somewhere flat.

This is a really brief "how-to" for relief printing. If you'd like to know more about inks, brayers, and printmaking papers there are a number of books on the market. It really is a fascinating process and so fun to know that when you're done you've created an unique tool that you can use in your work over and over again.

Wednesday, March 10, 2010

Local Craftiness: The Mad Stamper

I've long had it in mind to tell you about a few local artsy mom friends of mine who've bravely begun they're own crafty businesses. I say brave not because they're risking so much- their work is all gorgeous, but because they all have young kids at home. Beginning a venture like this when you have children at home is daring. You never know when you'll be called upon to be Mom and carving out the time necessary to create and run a business is hard. They craft because they love it, or because it gives them something of their own to pursue. I admire them all tremendously for this and thought I'd share their work with you this next week.

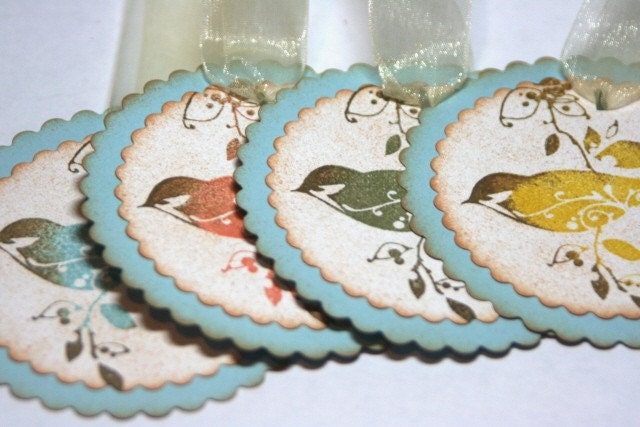
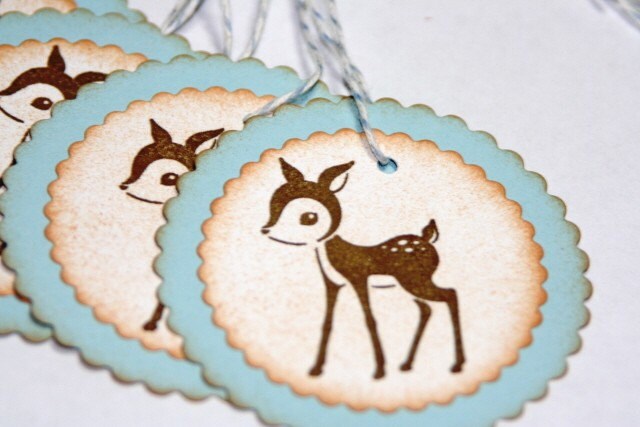
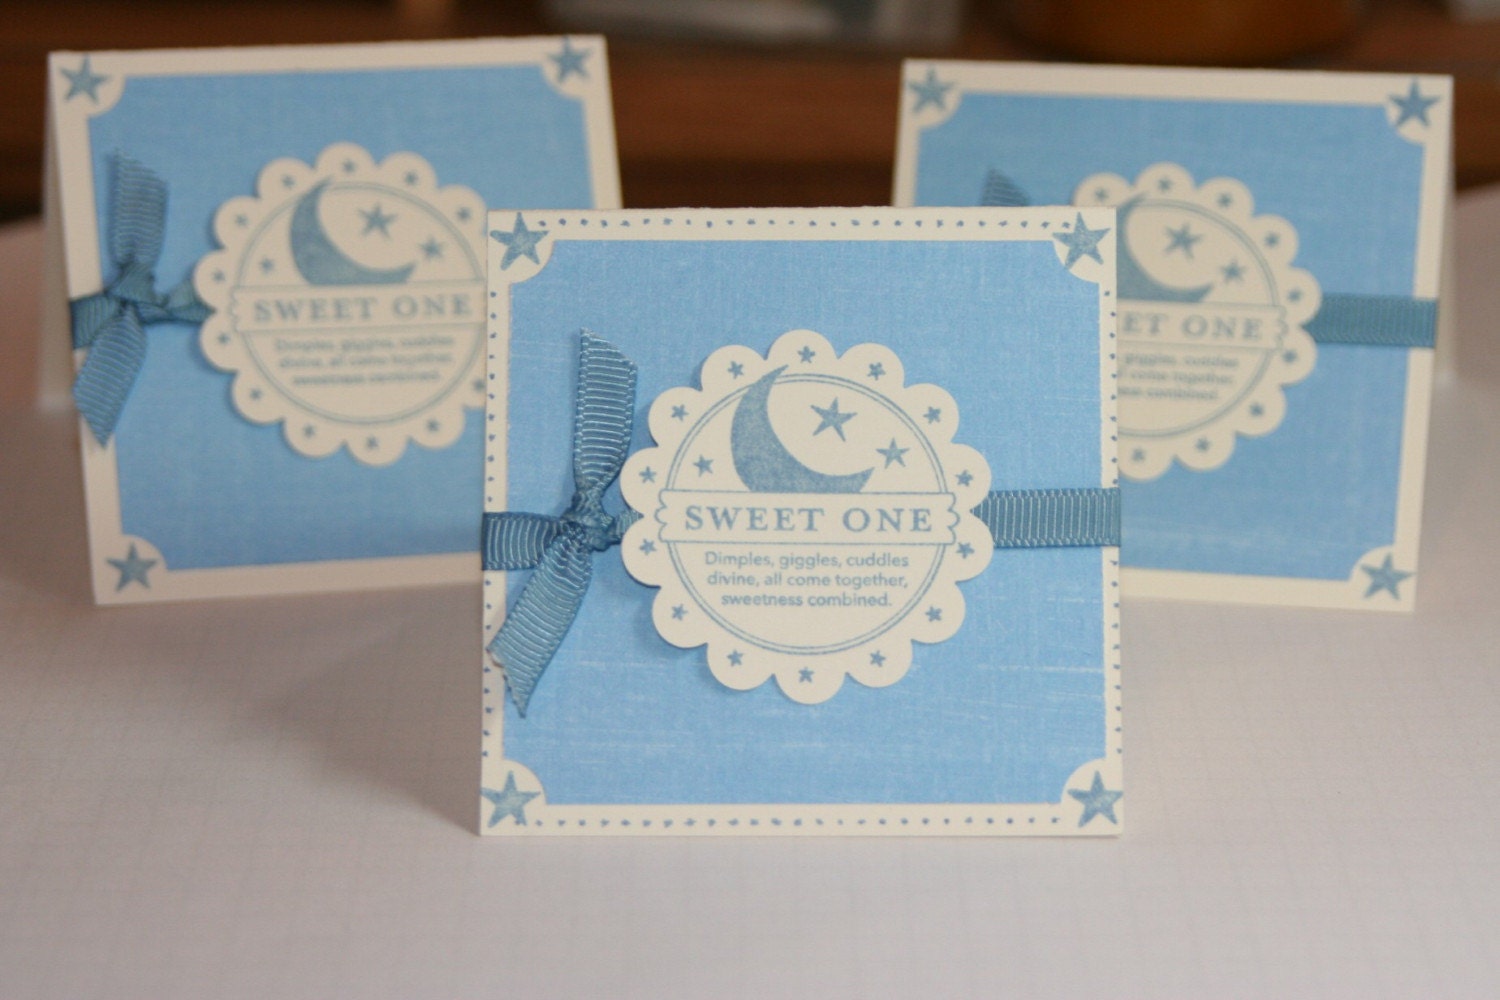
First up is The Mad Stamper on Etsy. She specializes in handmade tags, embellishments, and cards. Her designs are always right on and too too cute. Check out the cute little fawn tags and the sweet baby announcements. Karen has this to say about her art (I stole this from her shop profile), and I completely agree with her!

"I am a Stay-at-Home mom who loves her babies more than anything! But I also need time to create. :) Especially with Rubber Stamps!!! Card making is my passion and then papercrafting. Creating is my release, it gets me back in-touch with my inner self, and allows me to breathe again... As a mom to 3 children, that is VERY important! It makes all of us happier in the end ~"

I love the detail and craftsmanship Karen pours into each of her creations, AND I absolutely love Karen. So please check out her Etsy shop- you'll be glad you did!!!

Tuesday, March 31, 2009

Aaah...Paree!


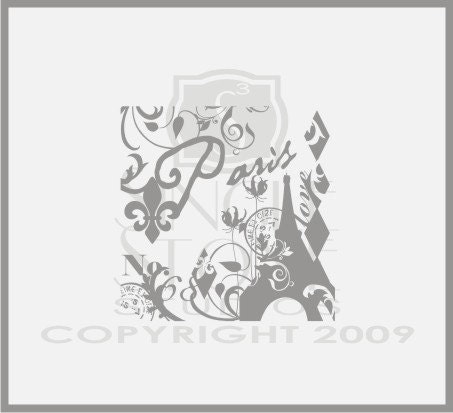
It's officially Spring now but today it's sleeting outside. Luckily I have my new and beautiful stamp set, Paris in Love, to focus me on much lovelier things and buoy my spirits! This is the third set Shelley of Singlestone Studios designed for her April 1st release. I LOVE this set. More than any of the other sets this one seems to speak to me. Yes I love the images but I love the way you can look at the images and see a story. As if they are illustrations to some great romance that has yet to be written. There is great music out that will paint a picture in your head while you listen to it. That is the best way I can describe how I feel about this collection of text and images. The rose tossed to the ground, the looming Eiffel Tower in silhouette, the swirl seems like a breeze, the postmark, they all point to a place and a story. Maybe there was a love letter? Maybe some secret assignation between two lovers who's hearts pound as they meet. They don't need to speak, they've written all their thoughts in letters. Now they only whisper little phrases that say nothing but that speak to each heart of a great love.

I don't know how Shelley chose the images and text she did for this set but I really do LOVE how it all comes together in my imagination and tells me this story. The first piece of artwork I did with this set is kind of a memory board of this love story that didn't actually happen. I chose postcard papers and pages from a French-English Dictionary to create the background. Then I added some ink, some paint, and the stamped imagery. I loved the scratched up, mixed media feel of the piece. So I really accentuated that. I added some paper patterned with script that made me think of the love letters I was envisioning. The red acrylic was to add a sense of passion and romance. I think the addition of the wire flower, because of the way it's attached, gave me the sense that this was a sign of sorts. In another form it would have been hanging over the entrance to a cafe but here, it merely points the way to my story of lovers. I really loved how this piece came together and I had a ton of fun creating it.

After this piece I thought it would be fun to make an invitation with the stamps. I created some ink blots, and used a credit card in black acrylic to frame the Tower. Then, because I was having waaayy too much fun with this set, I threw together this little clay pendant. Again it has the roughed up aged quality that just screams romance to me. The final project I have in mind I haven't done yet. But can't you just imagine a pair of white undies embellished with red lace and some of these stamped images? I have to try it! When I do I'll post so you can see what I mean. Trust me, it will be sooo cute you're gonna want your own!

The Paris set, the Tweet set, and the Butterfly Garden set all go on sale TOMORROW- April 1st! To purchase go to www. singlestonestudios.com! Then when you've done you're own projects I would LOVE to see pics!!

Friday, March 27, 2009

Just a little Tweet


Today's projects were inspired by the So Tweet set of art stamps designed by Shelley of Singlestone Studios! The So Tweet set is much more mod in styling then the Butterfly Garden set I showed you a post ago. SO the projects it inspired in me have a totally different look than the accordion book.

The first project I did was this clipboard. I used papers that Shelley designed, then ripped them, painted over them, and continued to layer them. The colors of these papers are purple, yellow, chartreuse, and pink and all very very tweet. After layering the papers and paint I added some stamps from the Tweet set. I love the birds and flowers. The little birdhouse stamp is adorable as well. Then I stamped tweet all over and then to finish added rub-on's from memory makers (Chloe's Closet).

I love the way you can mix and match the text stamps in this set. Shelley included words like "home", "tweet", "shower", "your so", "baby","our new nest", and "thanks so much". In the birdhouse piece I used the home and tweet stamps but other combo's include "your so tweet", "tweet so much", "tweet shower", "tweet baby", "home- our new nest", and "baby- your so tweet" the applications are endless.

In fact, all the images are scaled just right to really mix and match everything.The tree was a blast to work with and I think stamping a little line of trees- and adding elements to show the change of seasons would be sooo fun. Did I mention I LOVE the versatility of this set? I love the way all the projects I did turned out. My favorite however, is the birdhouse. To create this piece I first glued on torn pieces from an old french-english dictionary I found. Then I painted over the entire piece, adding more or less as I wanted the pages to show through. After this I set it aside and played with the stamps. I used Sculpey and pressed the tulip stamp into it then cut apart the stem from the flower and baked them seperately. That way I was able to paint them red or green with more ease. Plus, when I glued them to the birdhouse I was able to position the flower heads at different angles for a slightly more natural and engaging look.

TIP= When I cut out around the image prior to stamping I left a little border all the way around the image. That gave me the raised outline on all the finished images. SO CUTE!!!!

After gluing on the clay pieces I stamped on the bird on the roof,the text, and the butterflies using my ink pads. The leaves of the branch I stamped on with acrylic. The doodling was all done with a black wax pencil. Then I went back over the entire piece with more white and added some purple paint to highlight- which I then brushed right over with a bit more white to blend it in to the rest of the piece. Finally, I used my black wax pencil to doodle in the butterflies' flight pattern and to add a few more finishing details. I'm really lovin' how cute it is. By the way, should you want to make your own birdhouse, I purchased the wood form complete with the little fence out front, from my nearby JoAnn Etc. for under $5 bucks!

For more information and actual images of the stamps I used check out www.singlestonestudios.blogspot.com. Shelley has been posting sneak peeks all week along with photos of projects created by the other design team members. So go and check it out to see all the cool frames, tags, and super trendy cards YOU could make with this set!!! The sets will be available for purchase April 1st!

Sunday, February 8, 2009

A New Creation

http://ny-image0.etsy.com/il_fullxfull.56526724.jpg So I wasn't going to post tonight but when I checked my e-mail I found this gorgeous little piece of art waiting for me. It's a sample from my friend Shelley's Spring '09 collection and is a new style for her. But chatting with her she says it is more of an expression of her personal style then anything she's done yet. I absolutely love it. She's also been sweet enough to say that the constructed piece I created partially inspired the first piece she did in this style. Which ties in wonderfully enough to something I heard in church this morning. The pastor told the story of the man who penned Amazing Grace. He was captain of a slave ship and saw nothing wrong with his life until one night. That night there was a storm and he cried out to God. God listened and this man changed his life. Later, this man's story inspired someone else who became a powerful advocate for the abolition of slavery in America.
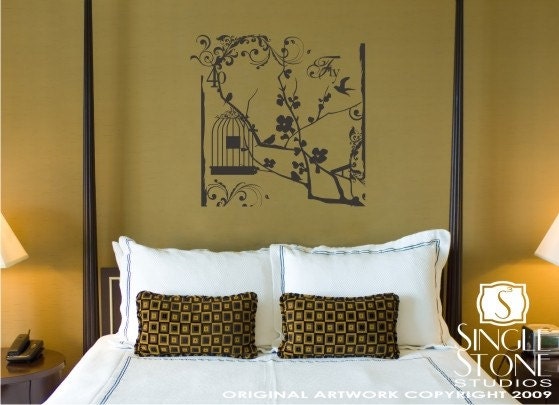
Stories are powerful. Art too can be powerful. The connection is inspiration. When we are inspired by something, or someone we are moved to action in response. Our reaction can result in something new and beautiful or something great, that in turn might inspire someone else. It's a natural, internalized reaction that has its root in our Great Creator God. Our ability to be inspired and to react to this inspiration with the creation of something else is one of the ways God created us to be like Him. Shelley had no idea that her response to my work would inspire me to make this connection, or to share with you this idea, but isn't that one of the most surprising and wonderful things about this life? Maybe reading this and seeing her work will inspire one of you, the readers. Maybe this is the beginning of a chain of loveliness and creation that spans the globe. My little piece was just a little piece, but who knows- this whisper could one day become the shout of someone else. Every bit of creation becomes extremely valuable in this light.

So take a look, be inspired and maybe it will motivate you to create a work, a thought, or a writing that will then continue on as an inspiration to someone else.