Tuesday, August 31, 2010

Taking a Mini-Break This Week and a Work In Process

I sketched what I had in mind with my Inktense Pencils
I've  been a little slow at posting this week. It's Tuesday and my last post was Friday! Crazy! But there is a reason for my tardiness as I've decided to use my time a little differently this week. Next week my son starts Kindergarten and I've hit on this last week as a mini break before the session starts. I'll be spending some of that quality time with my little boy, as well as preparing for the fall, and finishing up a big project. Next week, I'll be posting as usual. In fact, the next couple of weeks, I'll have mucho time before me and I'll be using you all as a crutch to get me through it. I love sitting down in the morning, and slowly gearing up to the morning and it's challenges as I read your blogs and find out what you've been doing. That and my art. So I had a couple of tutorials coming up and I think I'll hold off on the first until next week.
Notice the cereal bowl? I didn't want to take time to eat dinner:)

Just to get you completely caught up, I've also been working on my entries to the Cloth Paper Scissors Artisan contest. Yup! I've decided to throw caution to the wind and enter the contest. It's one of those things I talked about in this post. I figure if I enter, I'll have met a challenge- which is always good for me, been brave- which is super important, AND I'll have some really cool art I might not have had the impetus to make otherwise. So I've been working hard on that and am really excited about the work I'm doing. It's me but at a slightly different level. It's good.

I might ditch the copper panels for a batik...
So much love to you all- but I probably won't see you until next week. I'm off to build a Lego city...oh and  trip to the State Fair, as well as the local art museum, and some more fun stuff...

Hope you all have a wonderful few days too and I'll update you on the quilt when I get back....:)

Friday, August 27, 2010

Fall Fashion Bliss- Shop Ruche

Art as usual means, among other things, infusing your closet your home and your life with art. For help with the closet part I found this fall lookbook from Shop Ruche for you all to browse. I love it! My favorite is that candied cape as well as the shoes. Love shoes. Oh and the butterfly dress, and the bags.... you get the idea. ;)

Better yet- they're doing a giveaway for an amazing bag. Seriously- you have to see this bag. I love it! 

Thursday, August 26, 2010

More Stamps and Being You in your Art

I did yesterday's post rather late last night and so I thought I'd do a show and tell today and show you a photo of some more of the stamps I've carved recently.

I've been using them on fabric and then stitching the fabric patchwork style to one of my wire frames. I like how it's turning out but you know that little bit of a voice that says it's not that good? I've been fighting that lately. Really I know it doesn't matter if it's good or not, what matters is that you do what you're called to do. That you take the time and the risk to create in the face of that inner critic.

Really in life it boils down to being you, being authentic, whether others will get it, or like it, or not. How do you deal with those thoughts, the negativity? I'd really like to know. :)

So that's where I'm at right now... and here are some stamps.... I used the "faith" on one of the petals in the close up shot above. Fun!

Wednesday, August 25, 2010

Guest Post at Handmade Business Today!

Hey folks! I almost forgot to share but I have a guest post over at Handmade Business today! It's titled How Becoming a Mother Helped Me Make the Leap from Baby Bottles to Professional Artist. I had a lot of fun writing it and hope that it encourages all the other mothers/mompreneurs/artists/crafters out there. The post relates how I believe becoming a mom was actually responsible for me daring to reach for that art career. How the combination of roles can benefit all of us, and how if you look at something from a slightly different angle, you can really appreciate how wonderful it really is.

SO please, hop on over to Handmade Business and read the post. Thank you!!!

PS- if you'd like here are a couple of links to my past posts that are about the mama/artist connection!
My Mama is an Artist
Art Biz Mama's Interview
Interview with Shop Bug
The Creative Process- It Gets a Little Messy

Monday, August 23, 2010

Summer's End

It's almost here- the end of Summer. All the time I thought we had has whittled down to a mere 2 weeks. Crazy how quickly the time comes and goes. I know Minnesota has a late start to school and some of you have already started the fall routine.  
 
I don't know about you but I'm so excited about some of the projects I have planned for this fall and I can not wait to share them with you. But I'm wondering- from all you mom's that have already started the fall schedule what are YOUR plans for this time? What are YOUR goals and what Amazing things are you planning? Really I'd Love to hear from  ALL of you!

Friday, August 20, 2010

I Feel Lucky- And Am Completely Covered in Paint

This week I feel lucky. I know it's all blessings and maybe it's just the feeling of gratitude I have that makes me feel like things are going great and right. Funny because 1 week ago you would've found me sobbing about the stupidest things, but this week- it's all good again.

The view of the hall BEFORE
And why, you might be wondering, do I feel so lucky? Well, first of all I got to spend two whole afternoons this week painting. Yup, painting. I was asked to do a mural on a small wall near the Nursery at our church and although I didn't know what I was going to do, I agreed and of course still didn't know the day before I was scheduled to begin but the ideas did come and I love the result.

The view through the doorway AFTER.
The goal with this mural is to direct the eye through a doorway at the end of the fellowship hall that leads to the Nursery. It is fairly innocuous and so they wanted something child-like and playful, as well as a sign of some sort that pointed to the Nursery. I started work Tuesday and finished up on Wednesday afternoon. I am going to go back and make the lettering a little thicker on the signage to make it more visible but other than that little bit I'm done. It also worked out that my mom was able to watch my 5 year old while I did this so it wasn't just two afternoons painting, it was two afternoons painting uninterrupted. I have to admit to adding just one more thing and then just one more thing so I could spend just a little more time painting. It was fairly blissful. I also felt fairly thankful that God has given me the ability to transform an old hallway like this. It's definitely my kind of service project. :)

Full View of the Hall BEFORE
Then today, my parents have whisked my son away for the weekend and I'm again left with time to my self. This is a rare thing when you're a parent, and something that's nice but just a little bit unnerving as well. So I'll spend a little bit of time with you, do some cleaning, work on getting a couple of etsy orders done, and run some errands (and maybe make a completely unnecessary stop at Anthropologie- just because I can). Still it feels strange and I realize how lucky I am to have that incessant chattering and sweet little voice always interrupting my thoughts to tell me he's hungry- yet again. In another couple of weeks school will start and my little guy will be gone all day and I'm still not sure how I'll handle it, but I am so so so lucky to have this time now. I know you understand what I mean. :)
The full view AFTER- a sweet change!

Tuesday, August 17, 2010

Printmaking 101- Carving and Printing Your Stamps

To create text with a stamp carve the mirror image
Ready for more monsters? Yesterday I introduced you to the tools and materials you'll need to carve your very own stamps. Today we'll go over the basics for how to design, carve, and print proofs of your stamps.

First, create your design. I did this activity with my 5 year old so he did the design and I did the carving. The easiest way to cut the design you want is by directly drawing it on your stamp surface. Remember however that stamps do print as a reverse image. This is especially important to know when you're carving text. An easy way to see what your text should look like when carved is to write your word or phrase on a piece of paper and then hold it up to a mirror to see the text as you'll need to carve it. There are other tricks for this too but this one is pretty simple.

Next, we'll begin to carve out the stamp. What you're going to want to do is carve everything around your image. To begin, use a small v-tip and outline your shape. The rubber does want to tear so if you're doing an area that is highly detailed you're going to want to cut around your shape with an X-acto first. This will stop the rubber from tearing into your image. SUPER IMPORTANT!!!- Always Cut AWAY from yourself and never hold the stamp in a place while cutting where you might slip with the carver and hurt yourself. We are working with sharp blades which is why I don't allow younger children to handle the carving tools. After you do the detail carving around your image then go back with a gouging blade (they're shaped like u's) and carve out the rest of the area around your image. There is an element of design to keep in mind while you're carving- the carve lines. Everything you don't cut out will print- SO if you like the look of the block print you don't want to cut everything away, but leave a line here or there to print. I like the look of borders around my stamps so I'll usually leave the rubber around the very edge of my stamp untouched.


Proofing your stamps- We are working subtractively so you can't add more print area once you've carved that rubber away. So err on the side of too little and then do this proofing process until the stamp is perfect. Once you've completed your initial carving you'll find you have a little rubber crumbles left in the lines of your stamps. These could muck up your ink or your image so you need to get rid of them. I've tried brushing them out, knocking them out, but the best way to clean your stamp off is to run it under your faucet and gently rub your lines clean. Dry your stamp off with a towel and then ink it up and print it on a scratch piece of paper or fabric. If you do this and find there's an area that's not as detailed as you'd like or there's a line you don't want then go back to your carving area and fix it. Continue doing this until it stamps the image you want. When done, clean off your stamp before storing it somewhere flat.

This is a really brief "how-to" for relief printing. If you'd like to know more about inks, brayers, and printmaking papers there are a number of books on the market. It really is a fascinating process and so fun to know that when you're done you've created an unique tool that you can use in your work over and over again.

Monday, August 16, 2010

Making and Using Your Own Rubber Stamps- Monster Style

Last week my son and I made a bunch of stamps together and we both really enjoyed it so I thought I'd share with you how we did it. How it works with a 5 year old is that you let him draw a picture on the block with a sharpie and then you do the cutting. Then they get to stamp. So the first drawing Jasper handed me was the cutest little heart. I was lovin' it until the next 6 he gave me were all monsters. Monsters with 4 legs and 2 heads, monsters that look fairly amoeba-ish to me with 50 eyes, and monsters with pinching claws... to describe a few. I made a slew of my own stamps later but mine are boring compared to his so I thought I'd show you his. They're soooo much cooler. :)

Way back when I first started college I took a class on relief printing. I had no idea what it even was but it was an art class and fit into my schedule block so I signed up. We used linoleum blocks and would carve them using a speedball block cutting tool. Fast forward 18 or so years and I still love to carve blocks.

Today I primarily use the EZ cut blocks that are made of a rubber material. It's similar to that of an eraser, and as you may expect easy to carve. You can buy the blocks in a 9" x 12" size and then cut them down to any smaller size you desire. I rarely use block printing inks anymore, but tend to use what I have on hand, acrylics or ink pads. What hasn't changed is my choice in cutter. I still use the Speedball cutter. It comes with a number of different carving blades that all fit interchangeably on the handle. The little carving blades store in the handle of the cutter itself- genius!

The other thing that's changed is that I've begun to print on fabric. I love that I can create my own patterns or add my own texture to a fabric. I have a wood grain stamp that I created from an 9" x 12" piece of the EZ cut and I love the look it gives me. I used it for the background of a mini art quilt I made up for a friend.

We ended up making quite a few of the monster stamps and Jasper stamped his own Monster Army with them. Next up- Robots!!! I'll let you know how that goes. :) Tomorrow's post will include a little how-to for carving the stamps as well. Then I'm hoping a few of you will feel confident enough to give it a try. It really does add a lot to your mixed media arsenal of skills to know some basic printmaking and it's soo sooo easy. So I hope to see you tomorrow for a printmaking 101 class!

Friday, August 13, 2010

Check out those Killer Heels- Easy to Make Graffiti Shoes

Starting to add color!
I have an Art Group that meets on Thursday mornings. It's been tough this summer to get together so this is the first time we've gotten together all season. But it is SOO FUN! I have all my online friends I'd never part with (love you!) but I really feel I need the stimulation a weekly art group gives as well. It's fun to create things as a group.Yesterday, we got together to paint shoes. Yup, shoes. Sometimes we do watercolors, sometimes we try new techniques, sometimes we just have coffee and talk. It's always fun and I've missed it this summer. But back to the shoes.

One of the groups' members had seen a friend of her's wearing a killer pair of painted heels. When she described them they were the type that are dye-able. You know for weddings. An artist friend had painted them for her. They sounded amazing, I think she said they were actually painted in solid blocks of color which would be super cute too. I kind of forgot the "dye-able" part of the heels description because at that point in the explanation I was already dreaming of graffiti style heels. So I went over to Target and raided their clearance aisle for a pair and found this grey set for $14.99. Not super cheap but hardly a big investment. So I figured why not give it a go. :)

More color!
I wish I'd thought to take a before photo because the difference really is dramatic. They were nice shoes to begin with but this took them from nice to Fabulous. To paint them I used tulip's 3d paints, squirted onto my palette and then just dipped a flat or fan brush into the paint and flicked it onto the shoes. It wasn't that messy but I was fairly close to the shoes. I would've liked to have been able to splatter it more for larger lines but that might have been too much too. When I got home I added some glue on crystals in assorted colors by the heel and than across the toe of the shoes. I tried to keep their placement fairly random so they accent the graffiti style.

Check out the bling!
I'd like to try this again but with a slightly lower heeled shoe (so I'd actually wear them more) and I'd like to try the larger splats of color. Maybe begin with a basic black. Not sure, but I really really love how these look and as I drove home I was thinking of all the other things I could splatter with paint. "My black umbrella is pretty plain, hmm... there's that left over fabric, slipcovers..? I know! Canvas splattered and stitched into sofa pillows..." I really do love the look. If you try this at home I thought I'd mention that I might spray a poly over the shoes. The tulip paints won't come off without scraping but I haven't tested the paints water soluble-ness.

Artisty Keds!
My friend decided to use canvas keds for hers and I love how her's look too. She used acrylics, added water to the paints, and poured on the color. Then she accented the blocks of color with a black tulip 3-d writer. I was thinking how cute these were too and how I'd like a pair that were doodle-y looking as well. I can see this technique with the dye-able heels I was supposed to use.

So there are a few ideas for you- I hope you give it a try yourself! I'd love to see what you come up with. The shoes are fab and I think I'll wear the pair above with my long jeans and I'll look ages taller than I actually am. What do you think? Or maybe a trench.... (and I'm back to dreaming... )

Wednesday, August 11, 2010

It's all good... New Wire Art from Etsy Artists

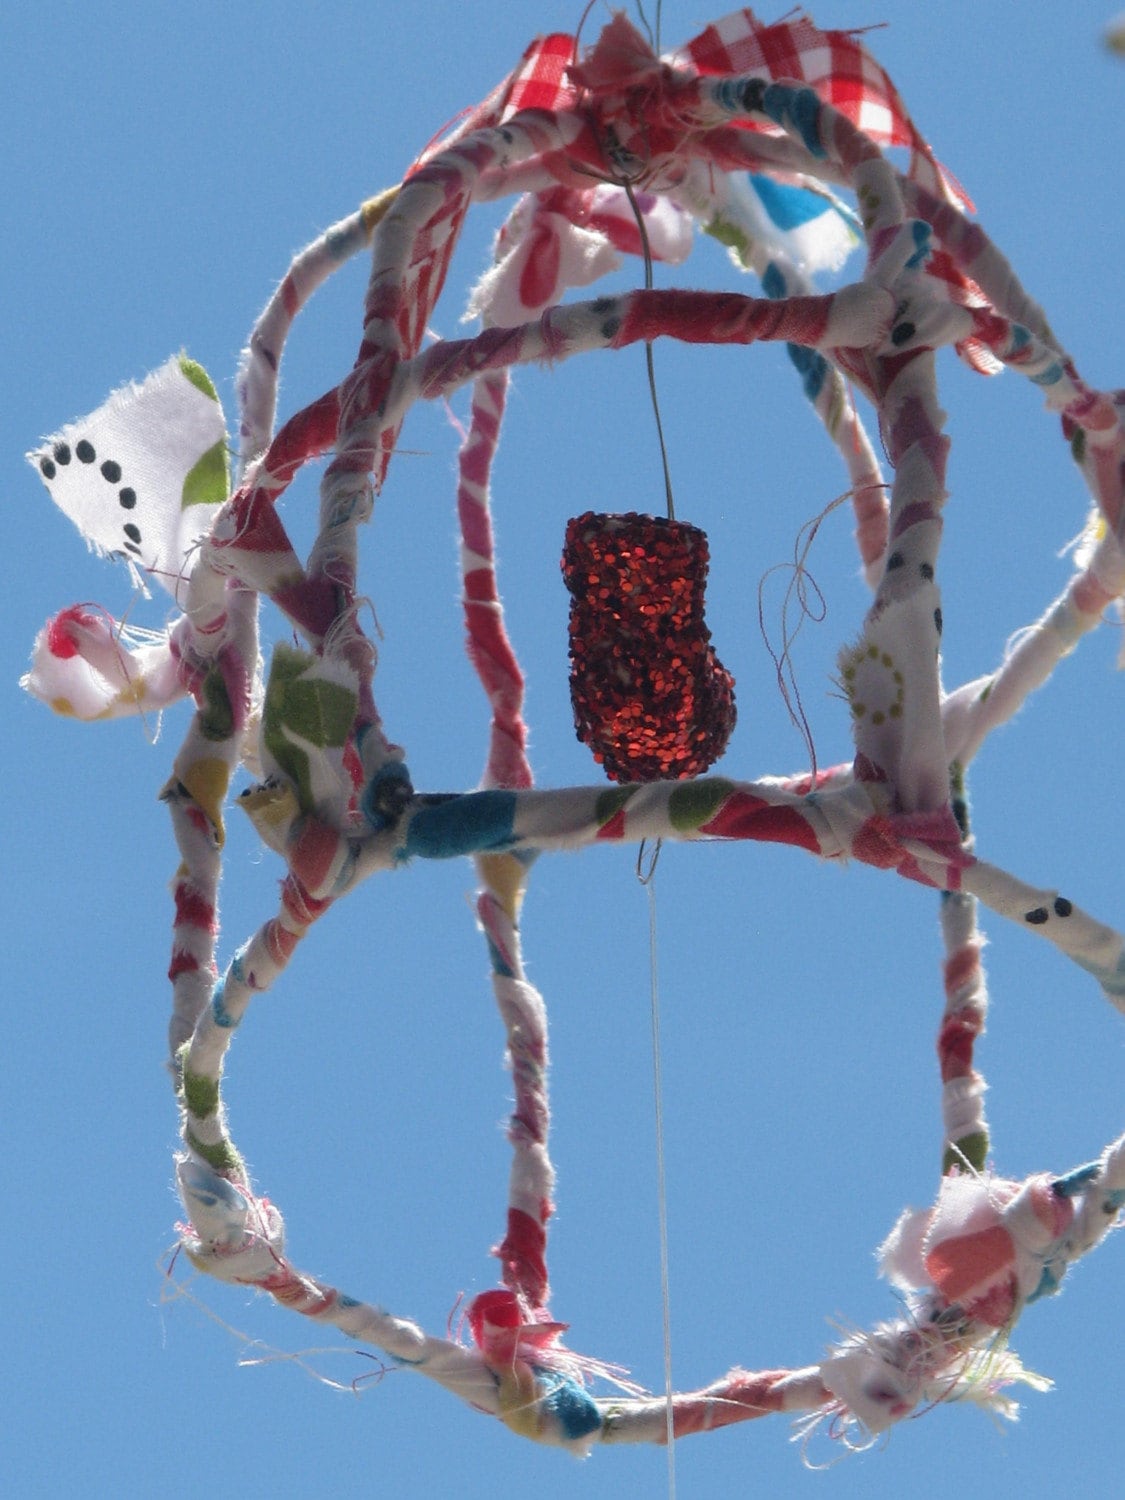
Wire and fabric birdcage by PenniesForPets
It's been a while since I've searched Etsy for items like mine. When I started there were only 3-4 wire artists with stores and mine stood out because of the fabric. But today when I casually did a search I was kind of horror struck with all the marvelous gorgeous wire art out there now. :)

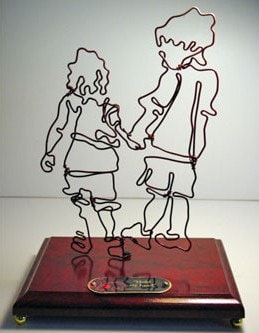
By Alive Wire on Etsy
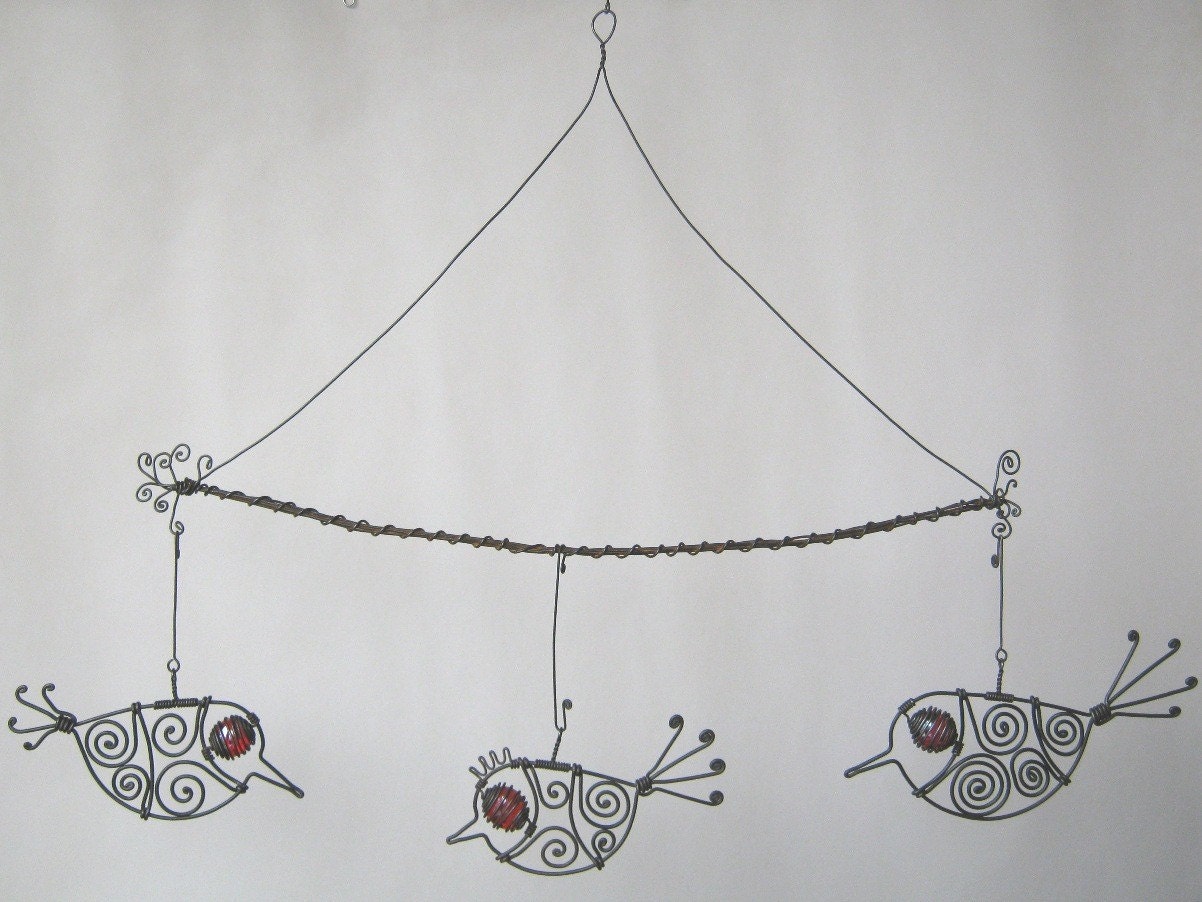
I mean I know that there are other artists working with wire, and our styles are different, but the fact that I had market competition sort of threw me for a loop. Now if you're a jeweler, or illustrator you are completely shaking your head at me right now. I can feel it. ;) You're used to the market being larger,but it's something I haven't really had to deal much with.
Threesome by MyWireArt on Etsy

It's made me...
1) want to show you all the pretty pretty things by new artists
2) up my number of new designs and
3) take my shop a little more seriously.

To be honest, since I finished up my last big project I haven't put a ton of work into the wire. I needed a break and there are so many other wonderful medias to work in. It's just so tempting! I know you all understand the pull of the new.

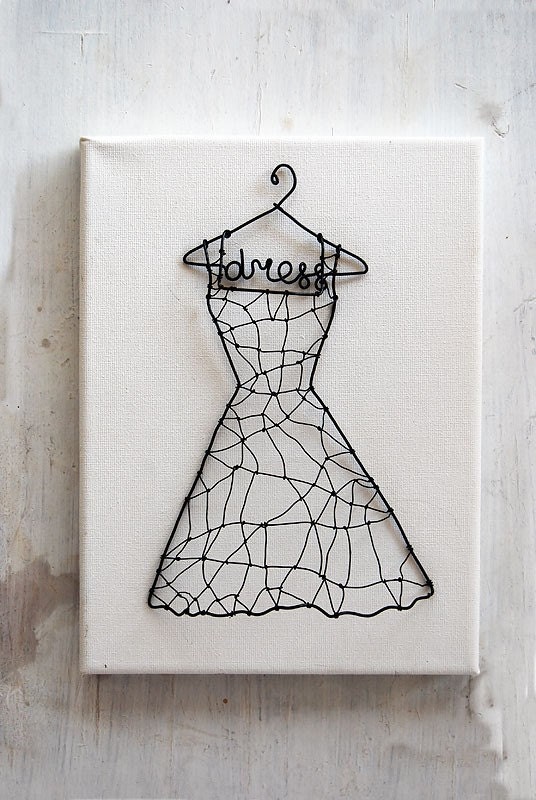
Dress by WireDreams on Etsy
I really really do love all these works that I've posted and I think the artists are amazingly talented and I'm eager to see more of their work. I thought you might be too. I also know that competition is good, that there's room enough for everybody, I should hope that wire art is on the rise with my book coming out, AND that it's all good... But I thought I'd share. :)

Tuesday, August 10, 2010

Randomness

Custom made book photo holder for an Etsy customer
I chose the title today thinking I'd show you some of the random projects I've been working on lately. But as soon as I typed it I realized that the word "random" pretty much characterizes all aspects of my life right now. Not to say I don't have a plan, it's just that the order, the project, the ideas are all shifting and shuffling so quickly right now. I'll have some thoughts about my book and come up with all sorts of ideas for promoting it. Fun, fun stuff. So that goes on my mental list, then I think about my son going to kindergarten in a few weeks and I feel this urge to take him to the parks, or geocaching, or to the History Center. All things we'd talked about doing at the beginning of the summer. There's a contest I want to enter, some submissions I'd like to make, a class I'm prepping for, and some overdue library books. So those start shifting into my to-do list, then I throw in all the day to day's and a few odd commitments, and before you know it I'm walking out the door unsure if I'm going to the co-op, the fabric store, the park, or school shopping. 

Shirt customized with some stitching/applique
I'd feel bad about how random it all is right now but I know that this extreme is the exception, not the rule for me. For some reason, right now is doing this to me, but it's ok. I'm still dealing with it all, I'm still getting my commitments fulfilled, I'm even able to do some things I want to do but don't have to. Like the shirt at right for my son. His new school's dress code states no lettering, pictures, or numbers on their clothing. I don't know if you've browsed boy fashions lately but unless it's a solid color there's usually some markings on it. So to spruce up one of the solid color polo's I found, I stitched on a stripe of red cut from one of my husband's cast off shirts, and then added a bit more decorative stitching. I like it, and I enjoyed it. How do you plan your day? I usually fall back to lists. I'm curious, how do you balance the day to day's but still add in the "want to do's"? Do you? Or do you let them slide?

Last night I made a plan for today. It's simple. Go to the post office and ship Etsy custom order and care packages. Finish a mini art quilt I have going. Renew my library books. Contact Bible Study Fellowship about their fall program. It's all good things. It's all do-able. I might even be able to throw in a bit of geocaching with Jasper. :)

Friday, August 6, 2010

Combining Photographs and Fabric

The photo is of a pond near my parent's home
Experimenting is one of my favorite parts about creating art. I love combining elements, or materials, or techniques. It's been a bit busy around here lately so I haven't gotten to indulge myself in this way for a little while. For the last two days however, I've been able to play and the challenge I set myself was to use the new photo's I've been running through Lo-mob in my art. I love the artistic quality of some of these photos and want to display them but didn't want to go the standard route of a frame. So I decided to print them onto photo fabric and then stitch them to fabric layers, treating them essentially as mini art quilts. I thought I'd show you how they came together.

Adding color with colored pencils
To accent and add a little saturated color to the photos I used my Inktense pencils and lightly colored areas in. Then I treated them like any of my mini art quilts and began layering them onto fabric. I hand stitch my mini quilts and love how the stitching becomes such a strong design element in the composition, and it's really so simple. To finish of the purple piece I added the wire word love and a little raw edge applique in the shape of a heart. To finish off the scene of our local beach I decided to create a stack of papers stitched together, and then use that as one of my layers to set of the piece. Then it's just more fabric layering.

The photo here is of Excelsior Beach on Lake Minnetonka
So what do you think? It's simple and I think they look pretty good hanging up on the wall. It's certainly an easy option if you're looking for a non-traditional way to display some photos. It also adds a fairly large block of color to the wall where I've hung them.  

How do you solve the photo dilemma? Scrapbooks? Print them on canvas? Or have you found an innovative way to frame yours? I'd love to know!

Wednesday, August 4, 2010

Happy 2nd Etsy-versary!

Last year's Birthday Cake :)
Earlier this week my Etsy shop, Bird From A Wire, turned 2! It's a momentous milestone for me because, well, I've been on Etsy 2 whole years! The time has flown but I feel good about this. My shop has really grown even since last year and I've had such a great time. I love my etsy friends and my etsy shop and I'm so very very glad I took this leap.

Last year I ran through some statistics with you on my one year anniversary. I had a chance to look back at those and I feel grateful. Grateful that I've had this time with you all, and grateful at the encouragement and kindness I've received.

But for the fun of it, here's some of this year's coolness~
  • My etsy shop reached 1000+ hearts.
  • It received over 14,000 visitors
  • Over 50,000 page views
  • My work made the front page several times
  • I'm up to 148 sales
  • Met lots and lots of amazing people
  • Was able to give lots of money to Mercy Orphanage (thank you!)
  • Took the show on the road with my first art fair
Best of all, I really enjoyed myself! I love getting to know you, love finding kindred spirits, love all the fabulous fabulous convo's I've had. It's been wonderful and and enriching experience! If any of you have been thinking of taking the leap I really want to encourage you. AND I look forward to saying all this again next year. This really is such an amazing experience and I am so so excited! So Happy 2nd Etsy-versary to my shop!

Tuesday, August 3, 2010

Memorabilia Magnets Project Step by Step

My husband loves music so we've been to several concerts through the years we've been together and he keeps all his ticket stubs. All of them. They're all laid out downstairs in his office. A couple of years ago I looked at his collection and thought there had to be a better way of displaying them. That's when I thought up this magnet idea. I'm not so sure he thinks it's better per se, (he's a man of few words where my crafting is concerned) but he has mentioned that he likes them. That says a lot. :) I really enjoy having them on the fridge as a little reminder of things past. It's also a great conversation starter.

A sample of how this works-
visitor: "So you saw The Producers with it's original cast on Broadway?" me: "we did- how did you know?" ;)

The project itself is so easy I hesitate to call it a tutorial, but I took the photos so I decided I might as well do it up as a step by step. This same idea could be used for all kinds of memorabilia. Say you have your child's handprint in paint. You could follow the same instructions below and make customized hand print magnets. To adjust the size of whatever item you'd like to use make a photocopy reducing it in size.
------------------------------------------------------------------------------------------------
Memorabilia Magnets Project

Tools and Materials
Old ticket stubs or other memorabilia
Adhesive Backed Sheet of Magnet Material
Scissors
Pen


Step One: On the paper side of your magnet sheet trace your memorabilia of choice.


Step Two: Cut along this line


Step Three: Remove paper backing to expose adhesive


Step Four: Carefully place your ticket stub or memorabilia on the magnet


Step Five: Using a slight pressure smooth your item down to get all over adhesion to magnet sheet.


OK that was so ridiculously simple I'm really amazed at myself for thinking I needed to step it out (into 5 steps!!!). But it's done and I have one more fabulous, fantastic, personalized, one of a kind memorabilia magnet and you have pics to show you how to do it too. Enjoy:)

Monday, August 2, 2010

Inside Peek

Pages 1 & 2

Pages 3 & 4!
 I've gotten a few requests for photos of my Somerset Home article. I don't know why, but it strangely didn't occur to me to post photos of the actual article, just the cover. So here's a couple for ya. Thanks for your kind kind comments!

Ps I'll be back tomorrow with another tutorial~ :)