 Wondering how to say I "love you" with an old book, wire and a bit of fabric and ribbon? Here's an idea- How about creating this hanging book photo frame?
In Taking Flight, Kelly Rae Roberts had a photo frame project that I took this basic technique of cutting out a rectangle from the front cover from. It's worth checking out her version- it has some lovely wire and tissue wings.
Tools and Materials
Old Book
Wire words, "love" and "you" of 16-gauge steel wire
Ribbon
Patterned fabric or paper
Embroidery floss
Utility knife
Awl
Needle
Scissors
Glue stick
Craft Drill
 Directions:
1. Decide whether you want the front of your frame to be the front cover or back cover of your book. Sometimes the front is too distracting and the back cover seems to be the best option. Using an utility knife and a ruler; measure, mark and then cut a rectangle from the front or back of your book. I cut right into the book, no mat needed. Pull out any cut up pages from the interior of the book.
2

. Cut ribbon strips and glue around your frame window. Position your wire word "you" beneath the frame window, and then use an awl to poke a few holes through the book cover around the word. Usually one hole on one side of the first letter, a middle letter, and the last letter are enough.

3. Using a needle and embroidery floss (knotted at end), come up through the first hole, cross over the wire, and then insert the needle back through the same hole. Repeat once more and then move on and stitch down the next letter in the same manner. For the word "love" repeat steps 2 & 3 stitching it to the top of your frame.

4. Using a craft drill with a 1/16" bit, and drill two holes, one in each of the top two corners of the book. Drill through the entire book block. Open book cover and glue in the patterned fabric or paper in place behind the frame window. At this point some instructions suggest you use matte medium to seal the edges and cover of the book closed. I find that inserting the wire for the hanger wires the book closed very securely- no glue necessary.

5. Using the 16-gauge steel wire, insert the cut end through the top right hole and then pull through, insert through the hole on the left side of the book and then wrap cut end around wire at the top of the book. Leaving some slack in the wire, cut the wire on the other side and then wrap the end up and around the wire as you did on the left side of the book. Place your photo of choice in the center of the window attaching with glue dots, and then hang on the wall. Enjoy!!!


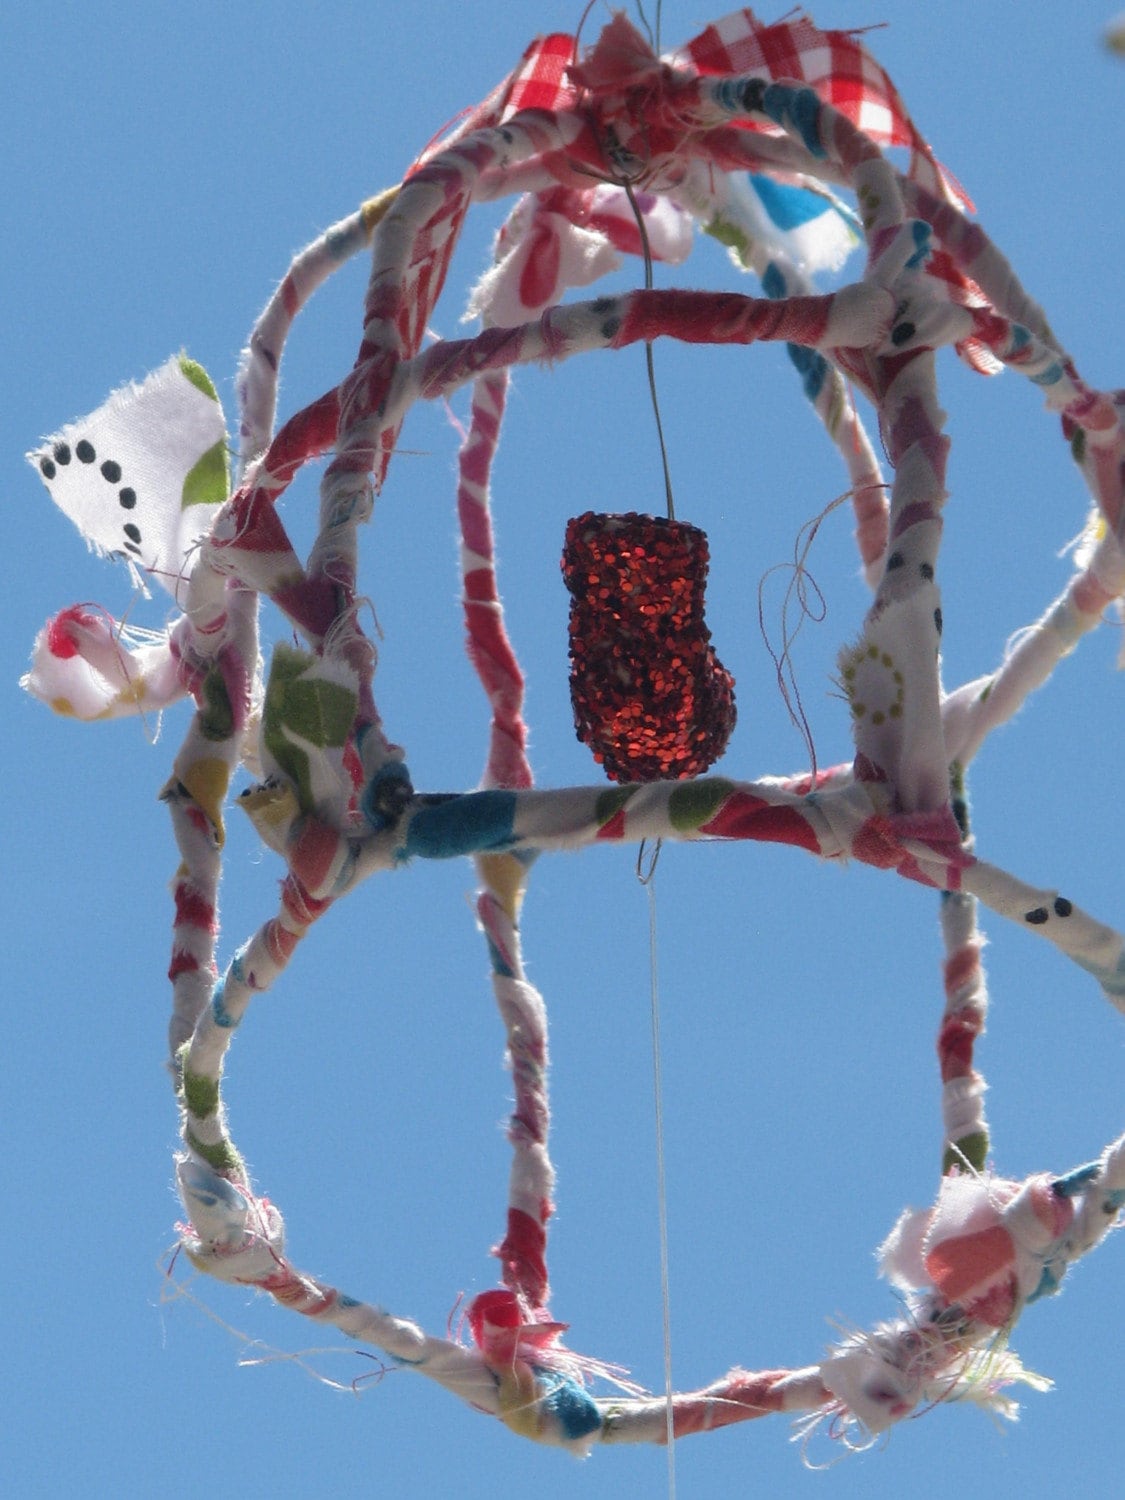
 I had an idea a while back for a line of home decor accents called wall flowers. Little whimsical flowers you could buy in a set and then arrange to hang around a special photograph or art. They would hang simply- with just a finishing nail and add a sense of sweetness, uniqueness and of course- WHIMSY to your home decorating.
 Wondering how to say I "love you" with an old book, wire and a bit of fabric and ribbon? Here's an idea- How about creating this hanging book photo frame?
 . Cut ribbon strips and glue around your frame window. Position your wire word "you" beneath the frame window, and then use an awl to poke a few holes through the book cover around the word. Usually one hole on one side of the first letter, a middle letter, and the last letter are enough.
 3. Using a needle and embroidery floss (knotted at end), come up through the first hole, cross over the wire, and then insert the needle back through the same hole. Repeat once more and then move on and stitch down the next letter in the same manner. For the word "love" repeat steps 2 & 3 stitching it to the top of your frame.
 4. Using a craft drill with a 1/16" bit, and drill two holes, one in each of the top two corners of the book. Drill through the entire book block. Open book cover and glue in the patterned fabric or paper in place behind the frame window. At this point some instructions suggest you use matte medium to seal the edges and cover of the book closed. I find that inserting the wire for the hanger wires the book closed very securely- no glue necessary.
 5. Using the 16-gauge steel wire, insert the cut end through the top right hole and then pull through, insert through the hole on the left side of the book and then wrap cut end around wire at the top of the book. Leaving some slack in the wire, cut the wire on the other side and then wrap the end up and around the wire as you did on the left side of the book. Place your photo of choice in the center of the window attaching with glue dots, and then hang on the wall. Enjoy!!!
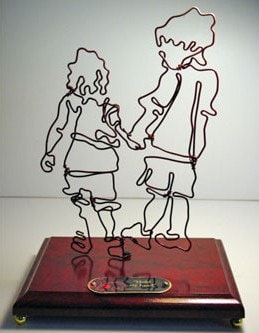
![[020310+Scribble+Heart.jpg]](https://blogger.googleusercontent.com/img/b/R29vZ2xl/AVvXsEiMAflKtOhZsoIc1ejMRgNlSDD1bVEF19HGAiV2BOTaaI63WepQ1SsWem3enuezaNaKbt2hLMLFmVCl_sCu0uBQS-EzUDs9Ohqf7FNrvegONmdobRYGZgQccYLlf-HQCbElY01tnFEXlCs/s1600/020310+Scribble+Heart.jpg)

 Lately I've been shamefully neglecting my blogging goals. Which was basically to blog all the time. Have to say though that I blog when I'm creating and excited to share what I've been working on or I blog as a way to explore ideas through writing. Neither of which motivations have been happening the last week. I hit the deadlines I'd been working towards and kind of just stopped everything. I did that thing that we did in college after exams. You know push and push and push and then CRASH!!!
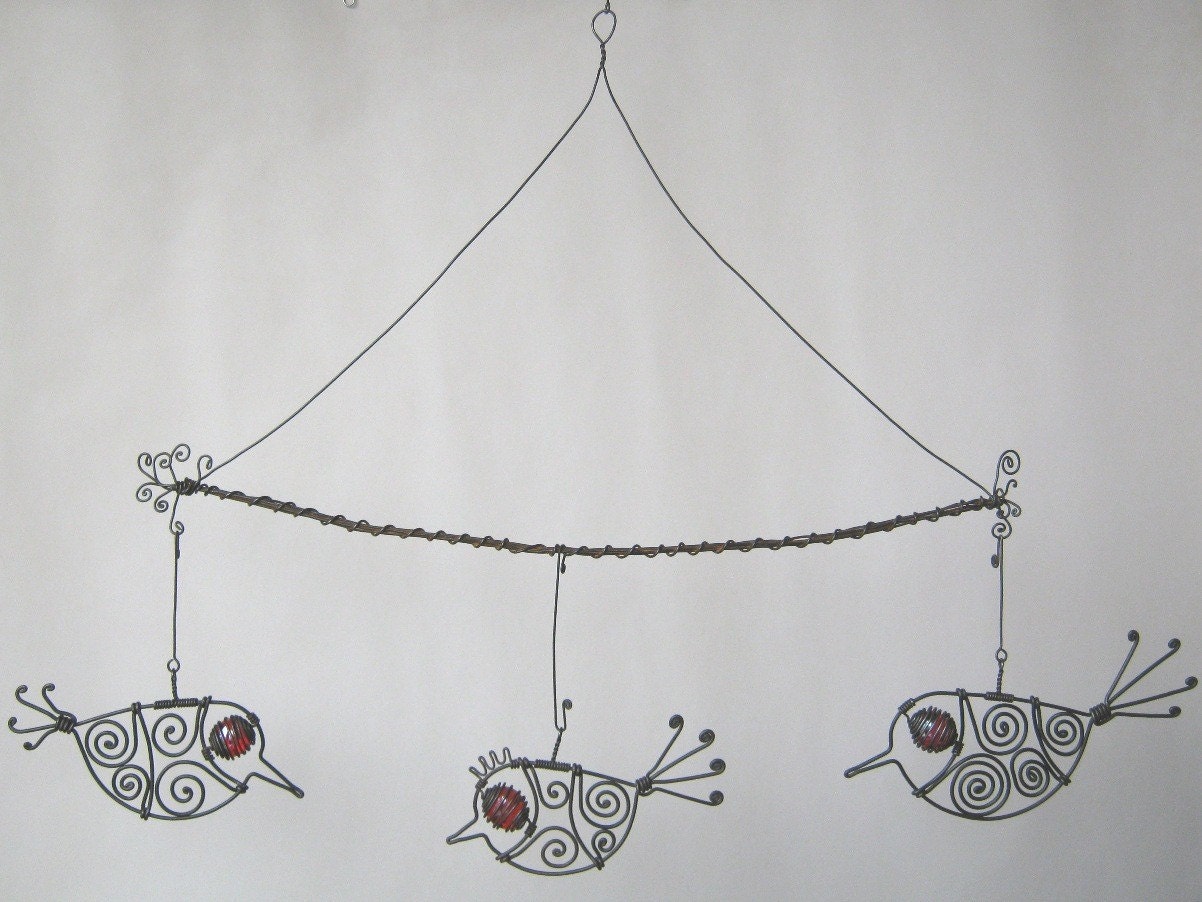
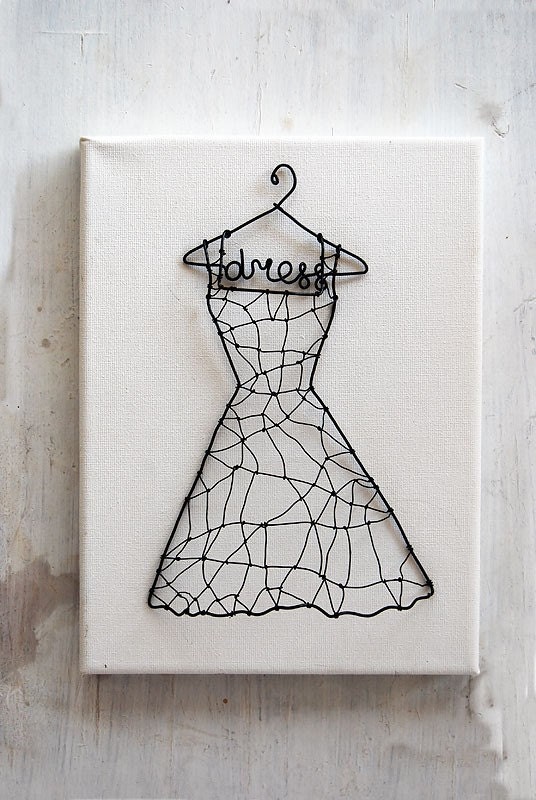
 Seems like it's been forever- but I now have some new items listed! There a bunch of new wire words, some wall size and some embellishment size. I love these stitched to either canvas or my mini art quilts. There's also my favorite of the new listings- a scribble pear and scribble apple. They're the perfect "pear". Ok sad thing is I used that in the listing too.
 It started as a challenge to my creativity. I'd asked my Dad to pick me up some old lunch trays I'd seen at a garage sale he'd organized. When he brought over the trays he gave me a box of old cookie tins too. Thought I'd want them too. I think cookie tins are kind of pointless and I really had no use for them- but it's my dad and he'd got them for me so I mumbled thanks and tossed them in the garage. But later I was thinking about art and how really we should be able to make amazing art out of anything. So I started to play around with the tins. I did a post a while back with my first experiments altering their finish. I'd crackle painted one and spray painted another trying to see what I had to work with. Then I dropped it to do the book stuff.

 Then because I felt like it I added the nest. Have to admit that nest isn't all that practical. It's small and wouldn't hold much but the little birdie seemed to want it. It said "please please make me a nest!" So I did. Besides, who says even functional art has to be completely practical? As long as it's lovely!


