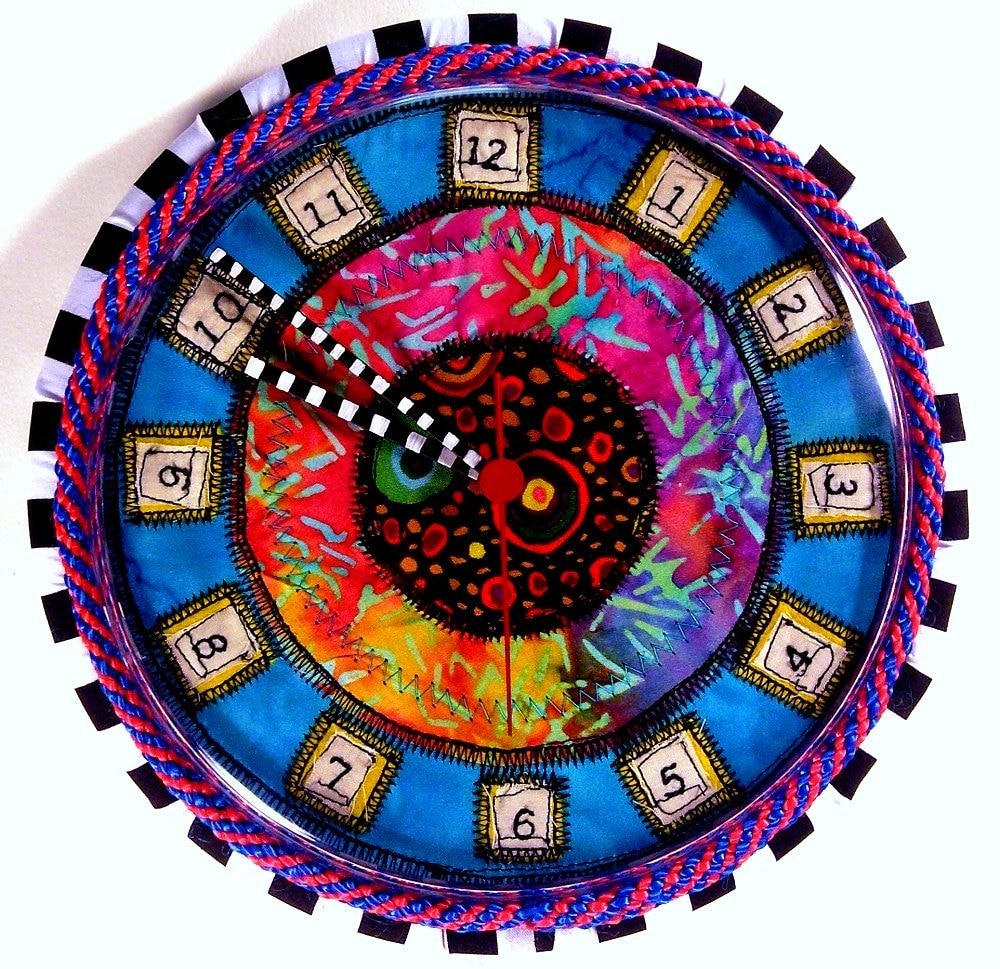
It drives my husband crazy. I'll have a stack of what looks like junk or recyclables on the counter, he'll decide to be a dear and help clean things off. As he's in the act I'll walk into the room and yell "nooooo!' He sighs and knows what's coming next-
"I was going to use those for an art project!" I know it drives him crazy and I try to keep everything in my art room but it does all tend to seep over into other rooms.
My latest save are Sunbutter jar lids. I keep thinking they'd make such a nice substrate for- something. I didn't know what. But then it came to me-
little wire birdcages. The jar lids make the base. My lids were plastic but you could certainly sub a metal lid instead. I'm also thinking they'd make a good mini shadow box or cameo art but haven't quite figured those out yet.
What about you? What could you do with your lids? Give it some thought and then let me know- I'd love to see!
------------------------------------------------------------------------------
Tutorial: Collaged Wire Birdcage
 Tools and Materials
16 gauge steel wire (I used a sepia toned)
19 gauge wire (brown)
Jar lid
Old book paper/scrap paper
Matte or Gel Medium
Glue brush or foam applicator
Crop-a-dile
Needle nose pliers
Heavy Duty Wire Cutters
Step One: Tear your book or scrap paper into strips. Using your brush apply matte medium to the jar lid. Lay on a strip of paper, and then brush more medium on top. Using your fingers to smooth the paper down really helps to create a flat adhesion. Apply more medium and then layer more strips over the edge of the lid. Continue until you've completely covered the lid with
at least two layers. Let dry.
Step Two: Using your handy dandy Crop-a-dile punch 6 holes evenly around the exterior of the lid. Position the Crop-a-dile so that you don't punch the holes too close to the edge. (See picture at top.)
Step Three: Cut three pieces of wire to about 12" long. Using a jar or bottle of some sort, create a gently bend in the center of the wires by wrapping all three of the wires around the object at once.
Step Four: Bend the end of each wire out to create a 90- degree angle. Do this with each of the three wires. Then place one within the jar lid. Insert the wire through two holes opposite each other, and then bend the wire up and wrap around itself to secure. Repeat with each of the wires. You might need to slightly adjust the length of each so that the tops will cross over each other snugly. When you've completely wrapped the wire ends then use your needle nose to bend your cut ends in.
Step Five: Using your 19-gauge wire wrap together the tops of your three wires. Create a loop, cut your wire, leaving another 1/2" or so. Then continue to wrap your wire end around the loop to finish. If necessary, use your needle nose wire to bend your cut end in.
Step Six: Using your 19-gauge wire again, begin to wrap it around the bottom of the wires, about 1" up from the bottom. Then continue to the next wire, until you've gone completely around the cage. Repeat around the top of the cage. If desired, you can repeat this as often as you like to enhance your design.
To create the swing- Use the needle nose pliers to curl one end of the 16-gauge wire, cut the wire, and then curl the other end. Using your 19-gauge wire, wrap the end around the top of one of your curls. Leave about 5" and cut. Then repeat with the other side. Position your swing inside the cage and then wrap the ends of your wire around the top of the cage
. Add your little birdie
(I found mine at a local junk/antique store) and display your creation!


 pired to write on any one thing or another so I thought I would write about that. But as always when I think about inspiration, one thought leads to a question that leads to another thought that inevitably leads to a question. So for the rest of the day I'm going to keep track of all the instances when I acted upon inspiration. Whether it was reaching for a red colored pencil or a blue- or composing a photo from a slightly different angle, or writing down my thoughts.