

I'm guessing that because you're reading this that you too LOVE creating. You love the experience as well as the product you have when finished. It's really the combination of those two parts that make handmade so special. The contentment, love, and soul that goes into each piece is really something unusual in the Dollar Store businesses of today. Whereas so much of the world seems to be accumulating more and more of cheap imports, or mass-produced products, we who make things by hand are growing more and more appreciative of both our own, and others' handmade works. I love to see this happen. Now, the world being what it is, I do still purchase many of my supplies from big box craft stores and am grateful to have such easy access to them. But I LOVE the handmade art that comes of these excursions. So I'm not opposed to buying things from these stores. I just think there's something special about something that was made by a hand that was creating and not just producing as it worked.

In decorating this could mean many things. It could mean a tree that's filled with ornaments made by all members of the family. It could mean handmade stationary or gift tags, it could even mean that some of those presents under the tree were knit by hand. But however, handmade manifests itself, it always brings personality, love, care, cheer, time, uniqueness, and consideration to what you make.This year, for the first time ever, I get to put one of my own handmade angel sculpture's at the top of our tree. I can't tell you how excited I am by that.
Going handmade doesn't have to be an all or nothing thing either. Just adding a touch here or there makes such a difference and each year you can add one or two more things depending on your time. This year, I'm adding a star garland that I've had in mind for a while. I'm excited to share it with you because it's the first time I've ventured into the realm of printing my mixed media collages onto fabric. I hope you take a look, give it a try, and really enjoy your holiday surroundings this year. Let them inspire you. Make sure you LOVE your holiday space and that they really celebrate the Christmas Spirit. Enjoy!

Tools and Materials:
16-gauge and 19-gauge steel wire
Wire cutters
Pliers
Vintage/vintage looking papers
mark making supplies (stamps, pencils, china markers, inktense pencils, caran d'ache)
Distress ink with ink applicator (optional)
Adhesive
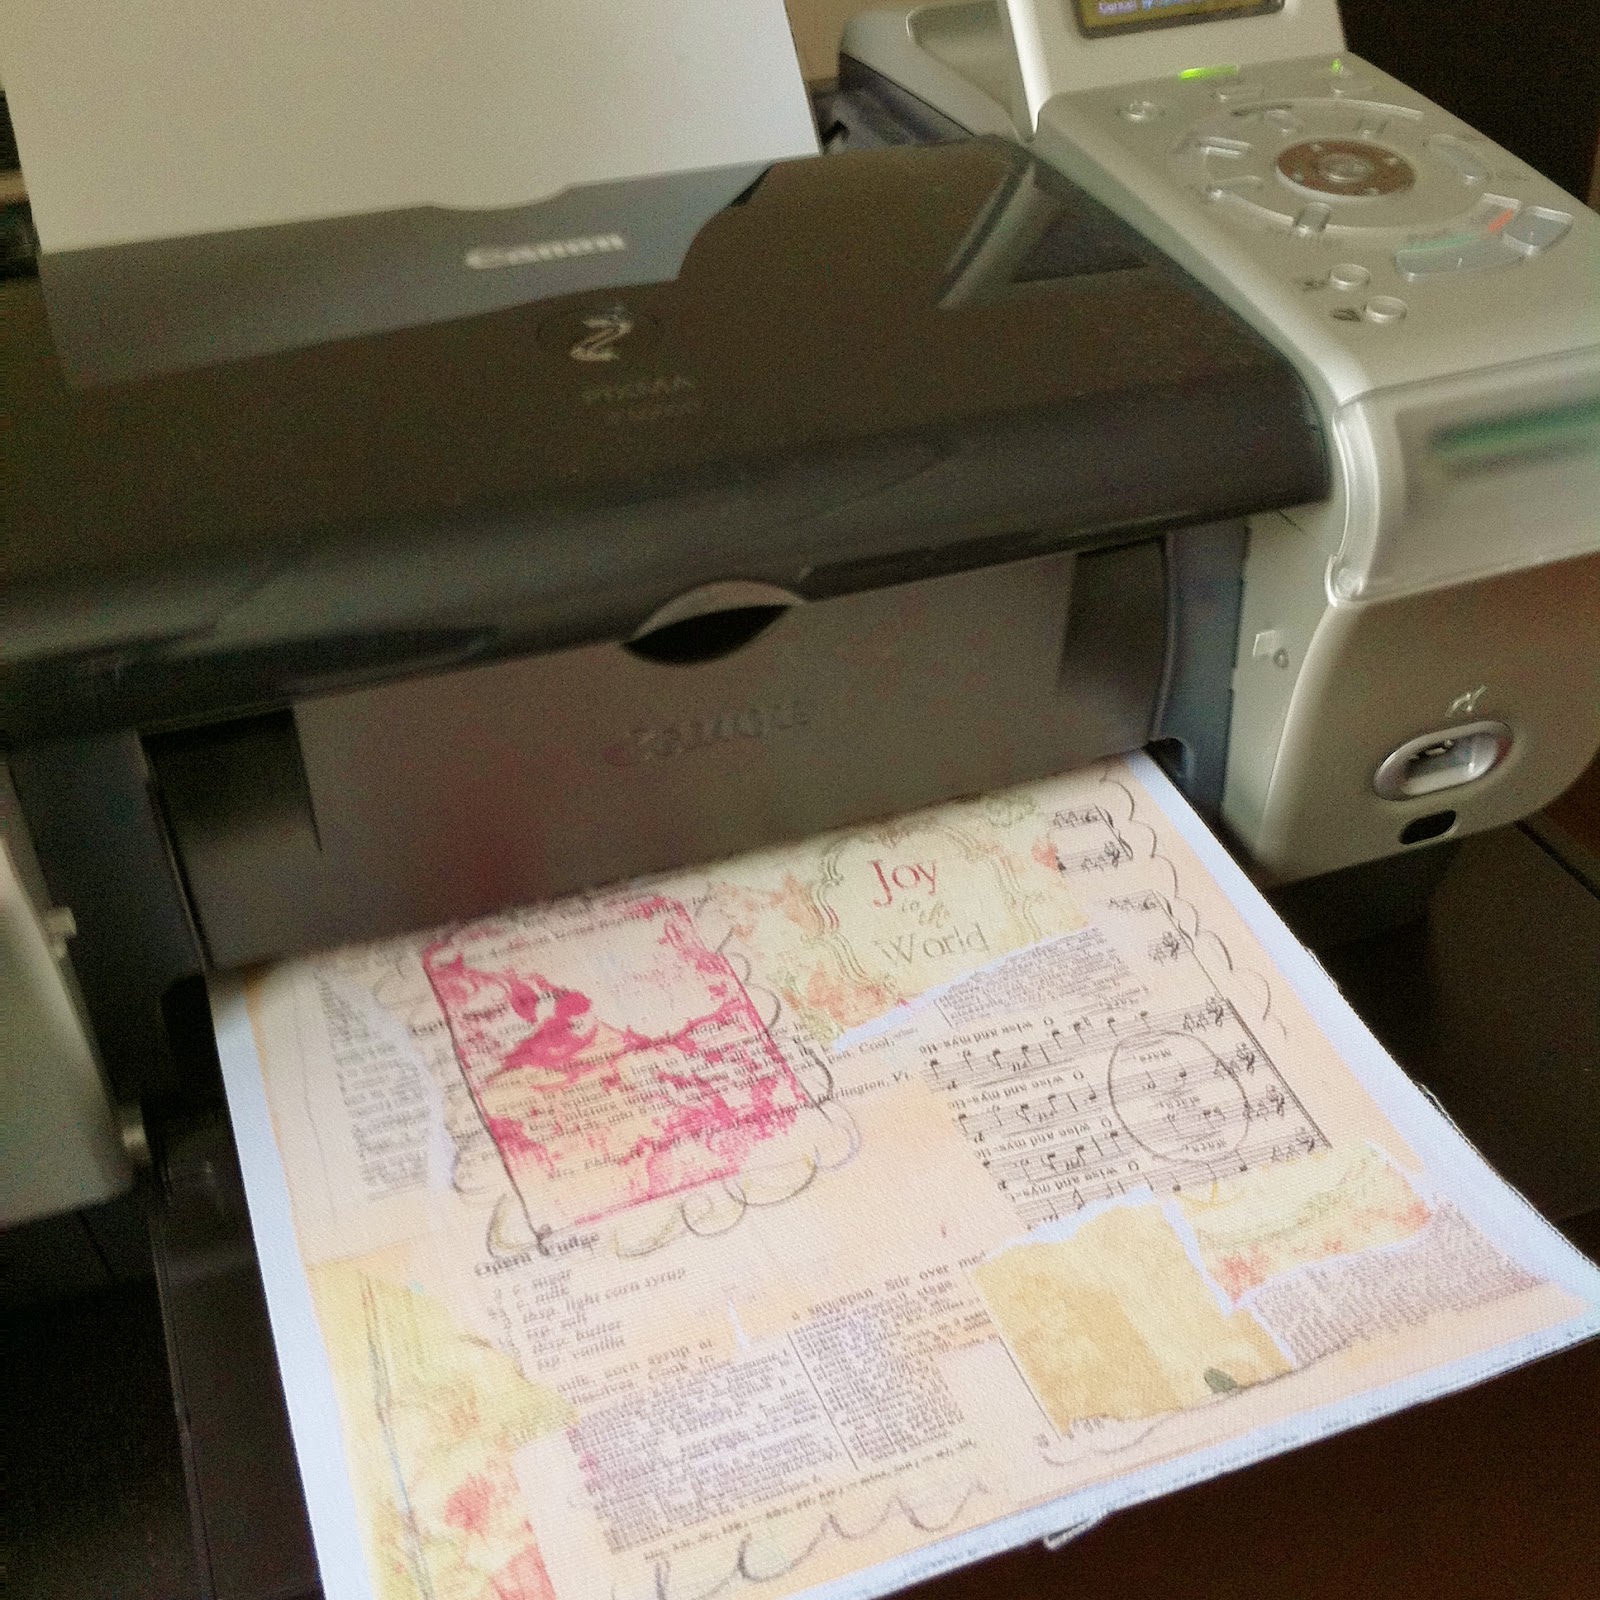
One plain piece of 8 1/2" x 11" copy paper and several same sized sheets photo fabric (canvas)
Scanner/ Printer combo
ScissorsNeedle and embroidery floss to stitch fabric to wire
Make the Wire Stars


Making Mixed Media Fabric
 Step One: Gather some collage supplies, vintage papers, some old music sheets, pages torn out of old books, anything you'd like to play with. On your sheet of blank paper start to layer your collage materials in a way you like. Adhere in place.
Creating the Wire and Fabric Stars


Making the Garland:
To make the garland I just cut a length of cotton canvas into a 1 1/2" w. and to the length you want. Make sure you cut it long enough that you'll have a little extra length so it can drape. Thread a needle with 4-5 in. of embroidery floss. Pierce the fabric right below the wire at the top of the star. Pull half your floss through, take off the needle, and tie your ends together. This creates a loop to hang your star by. Thread your strip of canvas through the loops of each star and position stars as desired. You may also want to add a few strips of contrasting fabric here between the stars as shown below. You can also add other shapes, like the wire snowflakes from a previous tutorial. They look adorable with the stars. :) Above all- Happy Creating! -Jen

2 comments:
I NEED photo fabric...and a scanner! Do you hear me, Santa?!
I really like this project!
I've got all the supplies for it...now to find the time to do it. Can Santa help me with that, lol?
Post a Comment